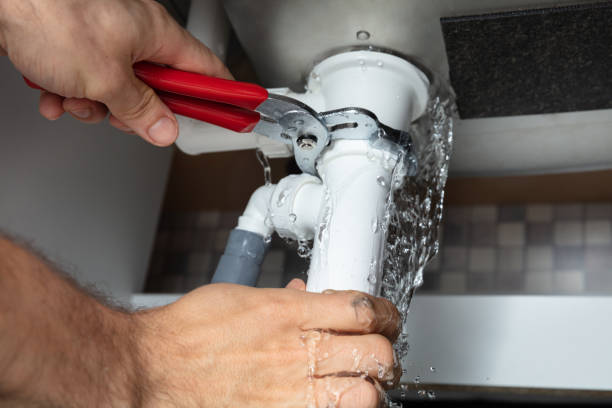
Faucet Repair Only/ Per Repair-(Ulster County Only/ Residential)
3.2
☆☆☆☆☆3.2/5
$119.99 / +tax
Service within: 14 Days
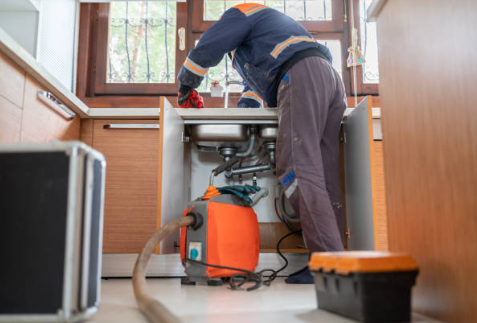
Drain Cleaning Service
3.5
☆☆☆☆☆3.5/5
$69.99 / +tax
Service within: 14 Days
Loading
Check out the latest local deals as businesses introduce new offers.
Retrieving added deals...
Your Trusted Local Plumbing Service Experts
Find Inspections, Installations, Repairs and more.
Only at AurketPro
Want a personalized quote?
Calling around for pricing
Calling around for prices for a home service is inconvenient and time-consuming, often leaving you with little clarity and feeling ambushed by pushy salespeople or marketers.
Home Repair Plans
Home service plans often come with hidden costs, limited coverage, unclear pricing, and frequent lawsuits over being labeled as "sham" subscription services, making it difficult to assess true value.
AurketPro Home Service Marketplace
Buying directly online from marketplaces like AurketPro is convenient, as it allows you to easily browse companies' listings, view their services in detail, and know exactly what your buying upfront.
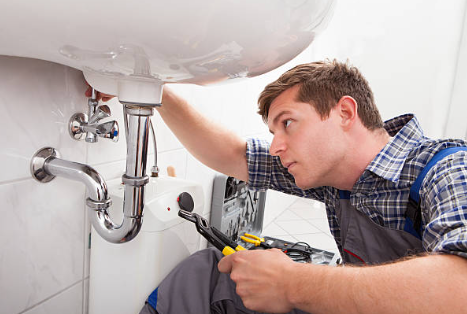
Good to know when hiring your next Plumbing company
When hiring a plumbing company, it’s essential to ensure they are qualified, licensed, insured, and reputable to handle your plumbing needs.
Licensing and Certification
State and Local Licenses: In most states, plumbers are required to hold a state-issued license to legally perform plumbing work. Licensing ensures that the plumber has met specific qualifications and adheres to local codes and regulations.
How to verify: You can check with your state or local plumbing board or department of consumer affairs to verify the plumber’s license. Some areas also provide online tools to search for licensed contractors.
Certified Plumbers: Look for plumbing companies that employ certified plumbers. Certifications such as the Journeyman or Master Plumber certifications are signs of advanced training and experience.
How to verify: Ask the company if their plumbers are certified and check with your state’s regulatory body if you’re unsure about the validity of the certification.
Insurance Coverage:
General Liability Insurance: Ensure the company has general liability insurance to cover damages to your property in case of an accident during the job.
Worker’s Compensation Insurance: A plumbing company should carry worker’s compensation insurance to cover any injuries that occur to their employees while working on your property.
Bonding: A bonded company guarantees that the work will be completed as promised. If the company fails to meet the terms of the contract, the bond ensures that you are compensated.
Experience and Reputation
Years in Business: A plumbing company with significant experience is usually more reliable and skilled in handling various plumbing issues.
The First trusted platform where you can connect with top-rated local companies offering a wide range of services right online. Whether you’re a homeowner, business owner, or property manager, our marketplace brings you access to reliable and experienced professionals in your area.
Current Pricing and Discounts:
Our marketplace enables providers to post up-to-date pricing and showcase current and seasonal services, allowing customers to view real-time listings and compare local prices effortlessly.
Convenience and Flexibility:
Our platform makes buying services as simple as a few clicks. Whether you need to fix a leak repair or planning for an upgrade for your home, you can buy a service from a local professional anytime. You also get to compare pricing that fits your budget.
Fully Vetted Professionals:
Our marketplace features approved providers who are fully vetted to ensure they are legally authorized to offer services in your state. Each company must provide their licensing or trade credentials for customer transparency.